maandag 19 augustus 2013

COVER FOR NOTEBOOKS

BACK TO SCHOOL IN STYLE WITH NEW COVERS FOR THE NOTEBOOKS!!!!!

The first assignment of every school year is always the same... "Please, cover your preschoolers notebook and music book".
So this year I started a little bit earlier to make a nice and special cover.

 
First I took the measurements and cut it out the covers of some old kids magazines. This I will put in the selfmade covers, to give it some strength.
Then I had a look in my wardrobe and found some old clothes.
I will use the pants of my pregnancy pajamas for Roos her covers and another old pregnancy pants and an old baby shirt for Stan his cover. So it will be a little recycling project... Here we go!!!!

First I cut my sons name out of the old baby shirt.
On the backside of the letters I iron some vlieseline to make it stronger and to prevent unraveling. 
 For my daughters name I'll use flock foil
The rectangular I cut out of the fabric (pants) has the following measurements:
- twice the length of the notebook, and
- the width of the notebook added by 3 cm.

I iron also vlieseline on this for the same reason as mentioned above.
 First I hem the short sides

  
Then I sew the name, pocket, embroidery or iron the flock foil,...
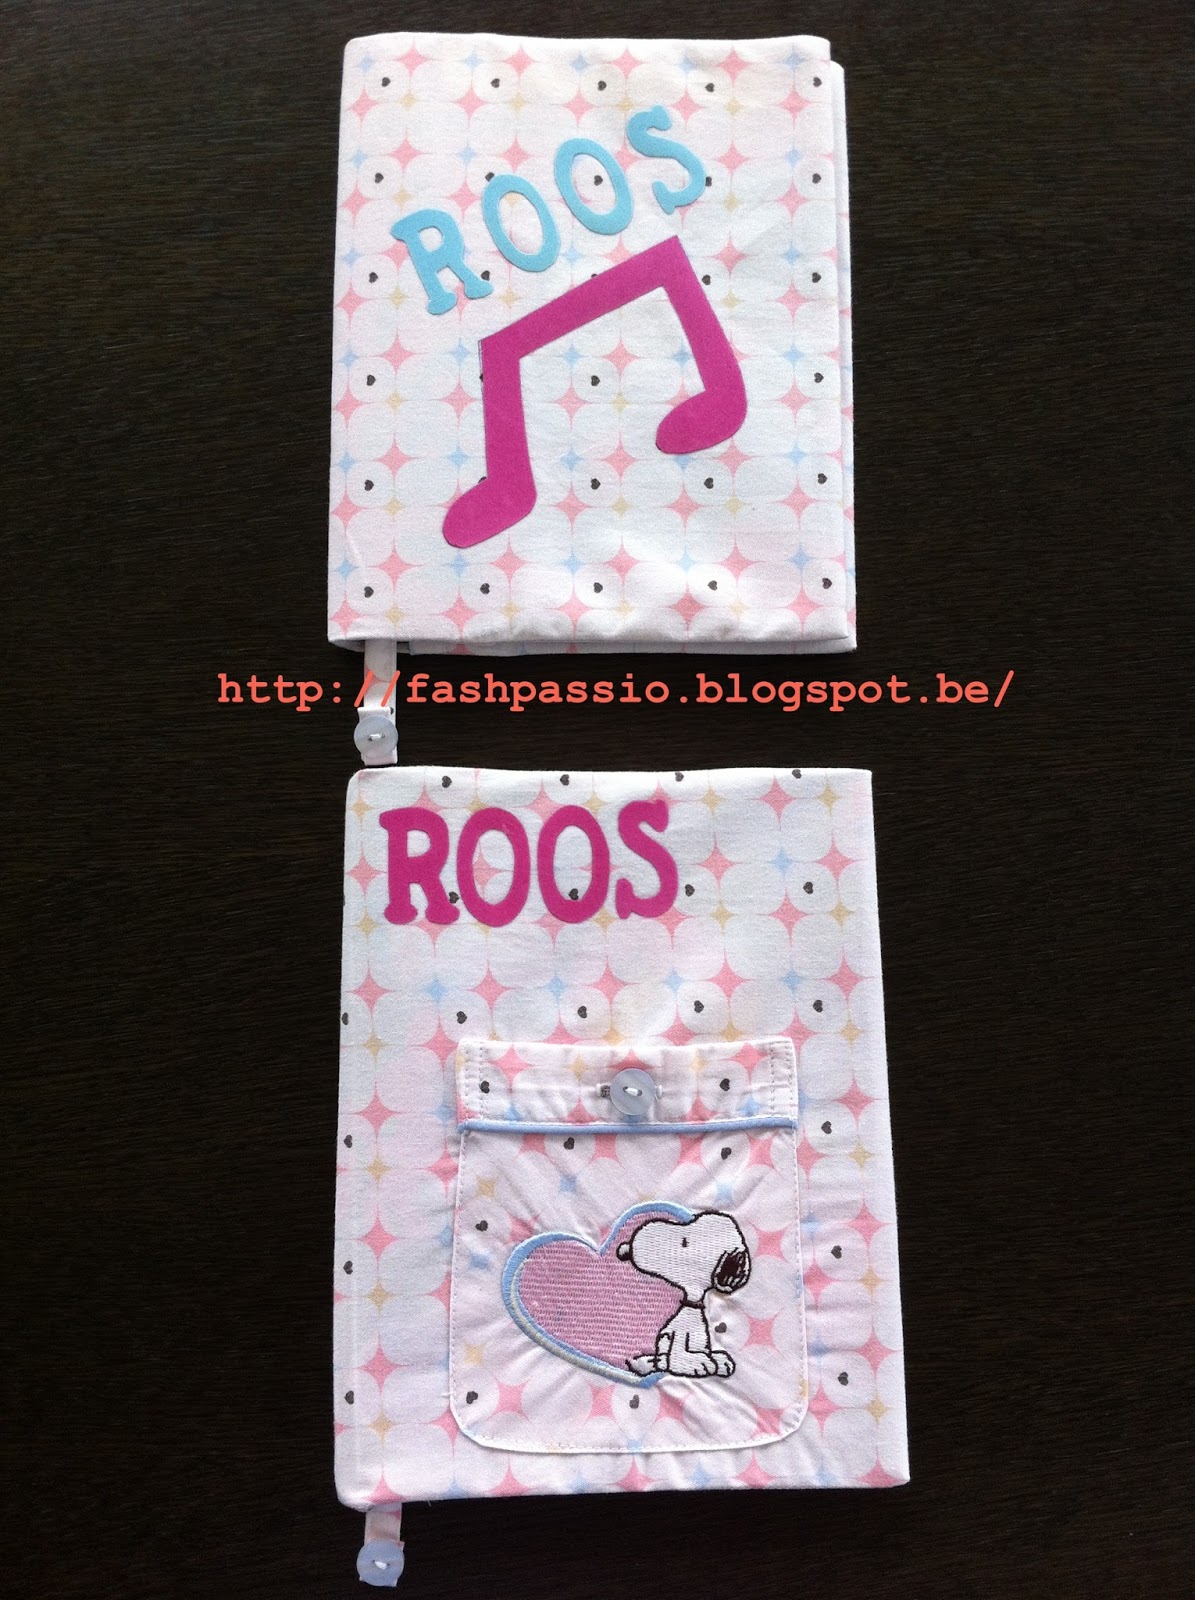
For the next step I flip both sides around the notebook to the middle (wrong side out and the good side in). Pin the top and bottom (long sides) around the notebook (approximately at 1 cm of the border on top and at the bottom). Then take the notebook out and sew the long sides top and bottom.

This is the result:

The front
 
 The inside
 

 The back


zondag 11 augustus 2013

GIFT FOR MY NIECE - "A HAIR CLIP ORGANIZER"

A variation of  "A HAIR CLIP ORGANIZER" (see page SEWING)


1)  What do you need?

a thicker fabric as basis (49 cm x 32 cm)
 A strip of another cotton fabric (137 cm x 8cm)
 2 shorter strips in the same cotton fabric (34 cm x 8 cm)
 6 squares ( 10cm x 10cm)
6 strips (25cmx10cm)
 4 biais strips to sew around the basis

2) How to start?
- first make the strips (see page SEWING "A HAIR CLIP ORGANIZER")
 - put the long strip on 2cm of the left side and the other end of the strip on 2 cm of the right side
 - put the short strip 11 cm further and the second short strip another 11cm further
 - Pin the strips and then sew the biais on the bottom of the basis
 - pin the short strips also on top of the basis and perform the first step of sewing the biais
 - then pin the long strip on both sides on top of the basis
 - now perform the second step of sewing the biais
 - then sew the biais on the right and the left side of the basis

3) the little bags:

I made different bags then in the other example.
 6 squares ( 10cm x 10cm)
6 strips (25cmx10cm)
- iron the seams of 1 cm of the squares and sew the top seam
- iron the seams of 1 cm of the long strip, then fold the long strips in half
- put the square on top of the long strip an sew along the edges


 - make in each bag a buttonhole
 - then sew all the bags with an embroidery stitch on the basis

 - then sew the buttons on the little bags
 - organize the hair clips and hair rubbers per color
 - fold the left side to the right for 1/3, sew press-studs on the right side on top and bottom (sew second part of the press-studs on the other side now)
 - fold the right side to the left side and close the press-studs
 - sew the other 2 press-studs in all the corners
 - fold it together and close the press-studs